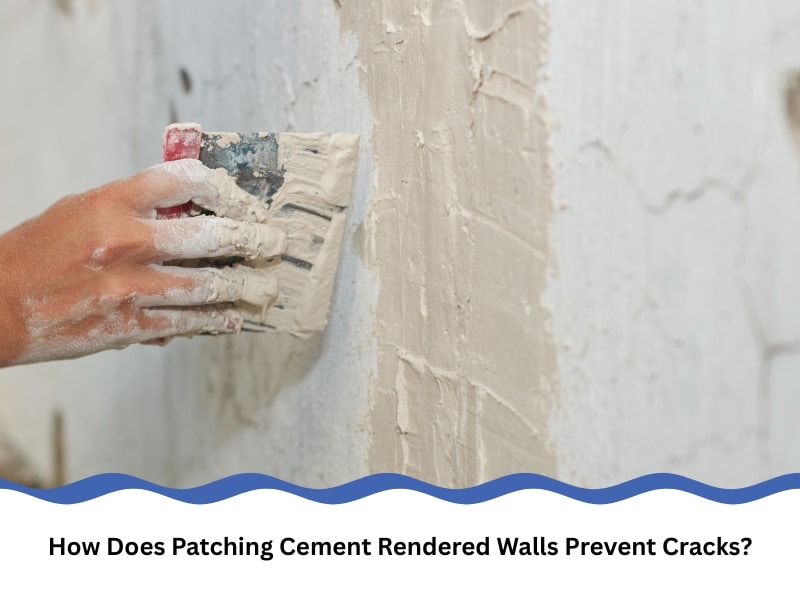
Cracks in rendered walls are more than just a cosmetic concern. Left untreated, they can expose surfaces to moisture and weaken the structure, leading to costly repairs. Many homeowners underestimate the role of proper patching in preventing these issues. When done right, patching can reinforce the integrity of a rendered wall and extend its life. But when skipped or poorly executed, the damage often worsens. This article explores how patching cement rendered walls helps prevent cracking and supports long-term wall durability.
What causes cracking in cement rendered walls?
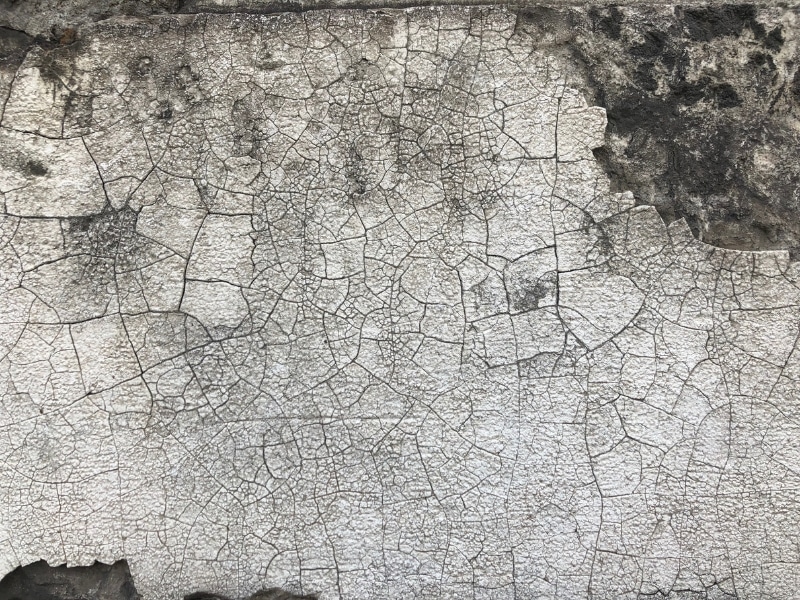
Cracking in cement rendered walls is typically the result of a mix of environmental stress, structural shifts, and poor application practices. These cracks often signal deeper issues that, if ignored, can snowball into expensive repairs. Some of the common causes include:
- Thermal expansion and contraction put stress on the rendered surface over time
- Poor curing methods after the initial application reduce the strength of the cement bond
- Movement in the wall structure from settling or shifting foundations
- Moisture penetration, which causes materials to swell or degrade from the inside
When a rendered wall isn’t patched promptly or correctly, these cracks tend to widen. That’s especially true for walls facing direct sun or seasonal temperature shifts. For a deeper understanding, you can explore the common causes of wall cracks in cement finishes that lead to these vulnerabilities.
Why does poor patching increase the risk of wall damage?
It’s tempting to treat patching like a quick fix, but poor technique can do more harm than good. Incorrect materials or rushed preparation might mask the crack temporarily while allowing hidden damage to worsen. Common patching errors include:
- Using incompatible materials that don’t bond well with the original render
- Skipping surface cleaning, which stops new layers from adhering properly
- Patching over damp or crumbling areas, trapping moisture beneath
- Failing to address the cause of the crack leads to repeated damage
Over time, these missteps can cause patches to peel, bubble, or crack again. This creates more surface instability, allowing moisture or pests to enter. Worse still, it gives a false sense of security—until a large chunk suddenly gives way.
To grasp how severe the outcome can be, take time in understanding the risk of incorrect cement rendering, especially on older structures or homes with past repairs.
Even if a wall looks “patched,” the wrong fix might be worse than leaving it untouched.
What happens when damaged render goes untreated for too long?
Ignoring cracks or poorly patched render isn’t a case of “she’ll be right.” It leads to bigger issues that not only affect the wall’s appearance but also its safety and structural integrity. When damage goes untreated:
- Water infiltrates, damaging internal walls, insulation, and even framing
- Render becomes loose, increasing the risk of chunks falling off
- Mould and mildew can develop under the surface, posing health risks
- Structural movement worsens, especially in homes with shifting foundations
Time only makes these problems more expensive to fix. For instance, what starts as a hairline crack can spread into deep fissures, needing full re-rendering. When left too long, even skilled patching might not reverse the damage. Prevention through timely, quality patching is your best bet
How can patching cement rendered walls prevent future damage?
Patching done properly does more than mask flaws—it stabilises your wall surface and forms a barrier against future wear. This preventative benefit often gets overlooked, but it’s crucial in regions prone to weather extremes or shifting foundations. Effective patching helps in several ways:
- Correct patching materials expand and contract with the wall, reducing new stress fractures
- Sealed cracks block moisture entry and limit erosion of the substrate
- Smooth finishes prevent debris buildup and minimise abrasion over time
- Strong bonds enhance overall wall durability, especially under seasonal weather pressure
Think of it as insurance for your home’s exterior—low-cost, high-impact. It also sets you up for repainting or rendering later, without needing to strip everything back to bare brick. The key is matching patch materials with the existing render and applying them under the right conditions. Here’s a quick breakdown of when to patch, repaint, or re-render:
| Condition | Best Action |
| Hairline cracks | Patch only |
| Cracks wider than 2mm | Patch and repaint |
| Deep cracks with render flaking | Patch and re-render |
| Widespread cracking | Full re-render |
If you’re unsure how to approach repairs, discover cement rendering solutions for better wall finishes that offer professional results and longer-lasting outcomes.
What role does surface preparation play in patching cement rendered walls?
Surface prep is the most overlooked but crucial part of any patching job. Skipping steps here is like painting over dirt—it won’t last, and it’ll look shocking in a few months. Effective preparation involves:
- Cleaning the wall surface thoroughly, removing dust, mould, or old flaking render
- Checking moisture levels, ensuring the wall is dry and stable before patching
- Roughening smooth areas, giving new material something to grip
- Identifying and removing loose or hollow render, not just covering it up
You also need to match materials for consistency. Using a mismatched patching compound can cause shrinkage, cracking, or discolouration. This prep work is key whether you’re tackling small cracks or larger damaged sections. It sets the foundation for a patch that bonds well and lasts.
In some cases, especially older homes, thorough prep may involve improving wall insulation through better surface treatments to manage moisture movement behind the render.
Where do patching cement rendered walls make the most significant impact?
Some areas of a rendered home are more prone to cracking than others. Understanding where patching makes the biggest difference helps you focus time and effort effectively. High-impact areas include:
- South-facing walls, where moisture takes longer to dry
- Window and door frames, which often shift slightly and cause stress cracks
- Corners and joins, where structural movement typically concentrates
- External staircases or feature walls, exposed to foot traffic or the elements
Addressing these zones before problems escalate keeps the structure stable and the façade intact. It also prevents subtle issues from showing up inside—like peeling paint or internal water stains.
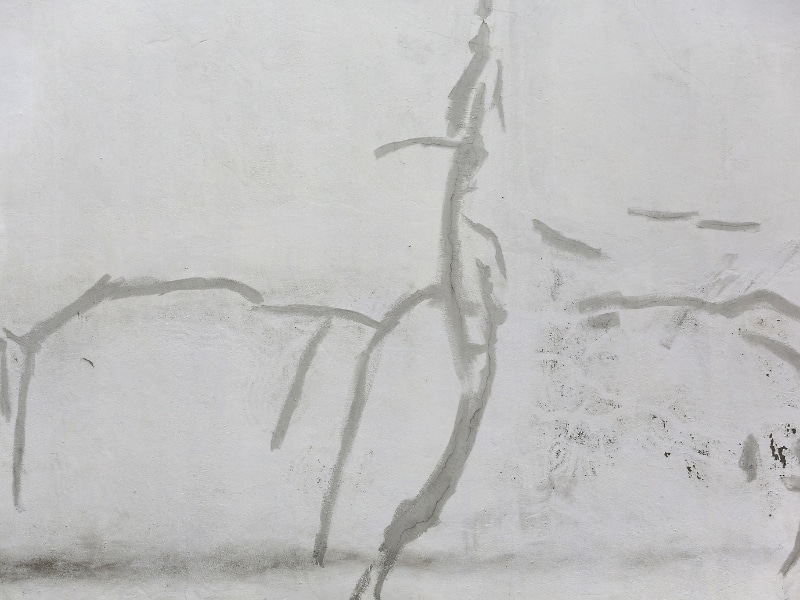
What should you consider before patching cement rendered walls?
Before jumping into repairs, take a step back and assess the big picture. Not every crack is the same, and not every wall needs the same treatment. Before patching, you should:
- Determine the cause—is it movement, moisture, or poor application?
- Measure the depth and pattern of the cracks—horizontal, vertical, or spidering?
- Evaluate previous repair history, which might impact how new patches behave.
- Choose the right materials, including texture, colour, and finish
Skipping this step often leads to band-aid solutions. Instead, invest the time to get it right from the start. Even experienced DIYers benefit from an expert second opinion in tricky spots.
When unsure, focus on understanding the site-specific factors influencing your render issues. You’ll avoid making the same mistake twice and reduce long-term wall maintenance costs in the process.
Final thoughts
Preventing cracks in rendered walls isn’t about reacting to visible damage—it’s about getting ahead of it. Patching done right plays a vital role in protecting your home’s structure, resisting moisture, and preserving a consistent look. From understanding the causes of cracking to knowing where patching is most needed, each step builds toward better, longer-lasting walls.
For those still weighing up their options, explore how Jims Rendering Sydney helps with rendered wall repairs.


